

 |
| Winged Eyeliner of Amy Winehouse |
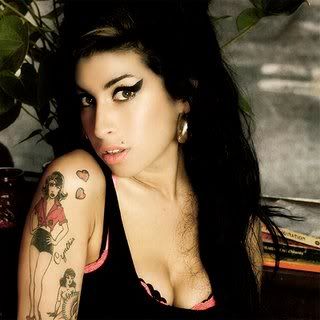
Amy Winehouse (R.I.P.) had a pin-up make-up style: Lots of black and red... and a winged eyeliner.
 |
A bold red pout competes with the eye. The result is done up and dramatic.
The Amy Winehouse "winged" eyeliner has inspired a thousand magazine covers. Karl Lagerfeld once described Amy Winehouse as a style icon. Indeed her vintage-inspired dress sense, beehived hair and winged eyeliner were certainly replicated worldwide by adoring fans, designers, stylists, makeup artists and fashionistas alike.
 |

 |
 | ||
| A Style Icon |
Amy made her bold beehive hairdo and exaggerated winged eyeliner her trademark style and a whole generation of young girls followed suit. All the Amy Winehouse essentials - amazingly big hair, winged eyeliner & a bit of retro.
And here is how to wing your eyeliner:
What you will need:
- A liquid eyeliner

- Or a gel eyeliner and an eyeliner brush
-Or a liquid pen
 So, now a bit of a demonstration. I'm sure there are many other ways to achieve this but this is just my technique. Don't try to do the whole thing all in one sweep without lifting your brush as you'll lose all precision. I break it down into three steps which I've shown below:  Step 1. Draw a thin line close to your eyelashes. Don't worry about any wing just yet. This line also doesn't need to be overly neat as we'll be going over it again later anyway. It's really important to tilt your head backwards when doing liner because you need your eyelid to be as flat and smooth as possible so that you get a nice fluid line. Step 1. Draw a thin line close to your eyelashes. Don't worry about any wing just yet. This line also doesn't need to be overly neat as we'll be going over it again later anyway. It's really important to tilt your head backwards when doing liner because you need your eyelid to be as flat and smooth as possible so that you get a nice fluid line.    That's it! If you need to go over it again to fix any lumps or bumps or to thicken it then you can. Now you just need to line your waterline if you want to and apply your mascara and you're done!
GOLDEN TIPS
-Always start from the inside and stroke outward in one fell swoop. Don’t try to do it in portions, just go for it–it’s silly, but it’s all about believing in yourself.
-When you get to the end of the lashes, go slightly upward. Remember, the more drama you want, the more distinct the angle should be.
- If you mess up at the end, don’t fret, just use a cue tip or tissue with a bit of gentle lotion or makeup remover to remove the wing. Then just try again. If the whole line is a mess, wipe it all off and start all over.
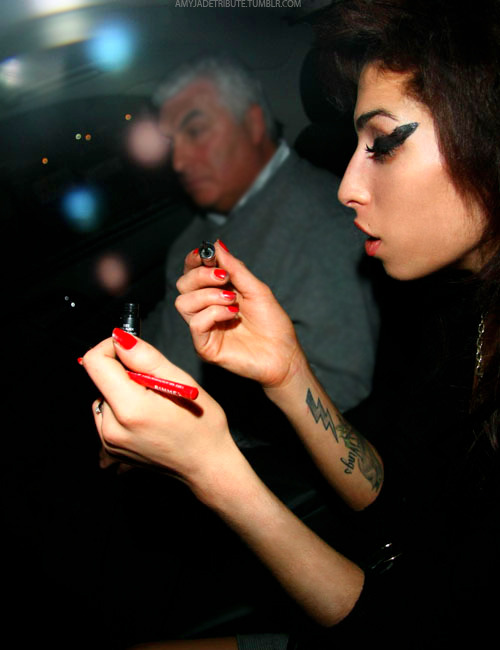
Amy's eyeliner is a a bit more exaggerated... When you look at the pictures, you will see that amy's eyeliner covers almost all of her eyelids then angles up as it's going outward.
|
|

 |
 |
| Rimmel Exaggerate Eyeliner |
Thanks I love the first tip resting your elbow before applying so simple but I never even thought about it definitely gonna try these..eyeliner tips
ReplyDeleteclick here
ReplyDeleteto know more about best eyeliner for waterline, just in case you are curious